
How to PAINLESSLY create a CreateSpace book: The simplest and fastest way without any software!
 |
| Now Available on Amazon! |
In this tutorial we are going to learn how to:
- Make a CreateSpace book
- Make a cover for that book
- Upload it all to CreateSpace
- Publish the book on CreateSpace
Related posts
Making a book for Amazon's CreateSpace can be a total pain in the neck! But not anymore:[click to tweet!]
After making a few CreateSpace books, I want to share my lessons learned.
When you're done with this tutorial you will be able to make and publish a book on CreateSpace so fast and easy you'll be surprised, and the coolest thing is: we don't need any software!
You can do it all with free software like Google Docs and online graphics editors like pixlr.com and Canva.com
For the sake of brevity, I'm going to assume you can complete your profile in CreateSpace.
A few points:
When it comes to making your profile, you must complete your tax interview, CreateSpace will not publish anything until your tax interview is finished. You must also complete your bank details. The easiest way to get paid is by EFT — electronic funds transfer, otherwise you also have the option to receive a check by mail. Now let's dig in...
1. Start your book:
The first thing you want to do is download a template. The most common size is the 6 X 9 CreateSpace template. But ... I have made one just for you, and it’s pre-formatted.
All you have to do is download it HERE and then write your book in it!
Since we are making a print book we will be operating by the principle of what you see is what you get (WYSIWYG), so there are some advantages to this:
1.) This means you can make your book look exactly like you want. Whereas with an ebook, the formatting is VERY particular, and can be changed by the user's eReader. Also things like bullet points are a real formatting nightmare for Ebooks, you just don't do that. But in a print book we can use as many bullet points as we want.
Then open it in your Google Docs.
The second thing you want to do is go to “print layout”. Use the pull down menu “view”:
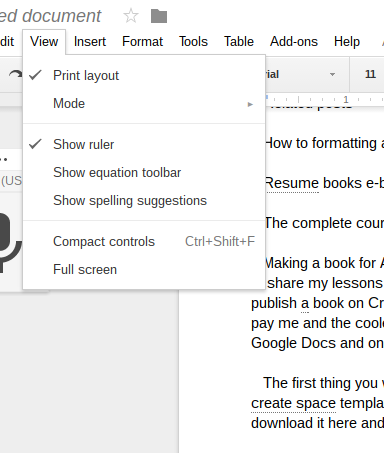
This way we can see the page breaks better.
This is very important because if your book is too long, (because of blank pages we did not catch) then your book will be more expensive in createspace, and that means less revenue for you.
Now start writing your book!
I recommend 12 Point Georgia or New York Times fonts. These offer the best balance between readability and book size — as in Pages — remember: we don't want to have too many blank pages or white space. This is the fine art of book making!
Remember to make clean page breaks with Control+Return keys and also remember to make all of your chapter headings HEADING1.
Needless to say you're going to write an awesome book right?
I don't have to tell you to get it proofread, and edit it, and that there are no spelling mistakes, etc. , you're going to make an awesome book and you're going to make it look exactly like you want it to,
— because CreateSpace is going to print it exactly like you want them to!
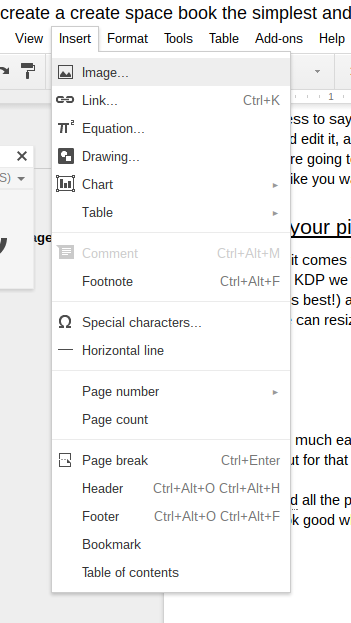
2. Add your pics and images:
When it comes to pics we have an advantage, because we are not making a digital book for Amazon KDP, we will not incur a download penalty for large (megabytes) images. We want to use pics that are 200 dots per inch (dpi) or more — 300 dpi is best! Then we include them in our book with the “insert image” button in the toolbar.
Then we can resize them anyway we want by grabbing the corner of the pic:

This is much easier than with an ebook where we must downsize everything and really watch out for that megabyte download penalty.
So add all the pics you want, and make sure that they are 200 DPI or more, and then just make them look good — what you see is what you get!
3. Add Page Numbers
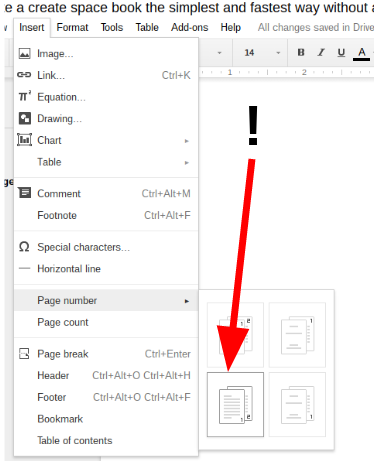
Adding page numbers in Google Docs is super simple; just go up to the toolbar again, and in the insert menu choose “insert page numbers”. I recommend the first option, see screenshot below.
Why do I only recommend that option? Because CreateSpace wants your number one page to start on the right side, that is a right-sided page, and I have found this option to work best:
Watch out! Because...
When you add the page numbers Google will also add a footer to all of your pages. I have found this footer to be much too tall, and have reduced it for you in the template (another reason to download my template ;-)
4. Add table of contents
This is optional with Ebooks, but with print books it is highly recommended: basically mandatory. Google has finally included the Table of Contents with page numbers function in GoogleDocs:

You will most definitely have to REFRESH this table of contents in the course of your writing. Make sure everything that should be in this ToC is a heading. Heading 1, for Chapters, and Heading 2 for sub-chapters for example. Then when you are done writing, refresh the table with the little circular arrow in the top left corner:

5. Download your book:
And now the cool part: when you are done with your book, and you're satisfied, you've added the table of contents, you’ve added page numbers, you’ve added pics 200dpi or more, and you have proof read it and checked it, and are really satisfied with it;
— now all you do is download it as a PDF!
This PDF generated by Google Docs is sooo good, that you can upload it to CreateSpace and it will retain all of the formatting, all of the images, and the 6 X 9 format.
Why bother with that cumbersome bloated counter-intuitive headache called Microsoft Word???!
Proceed to next section...
6. Upload and complete your book in CreateSpace:
And now the fun part, go to your CreateSpace member dashboard and hit the button “new title”:
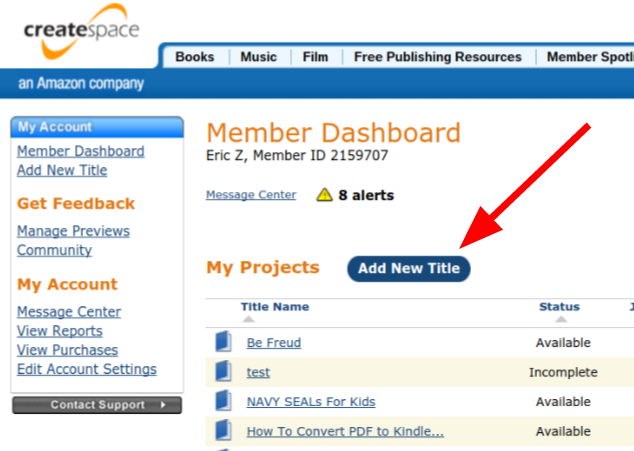
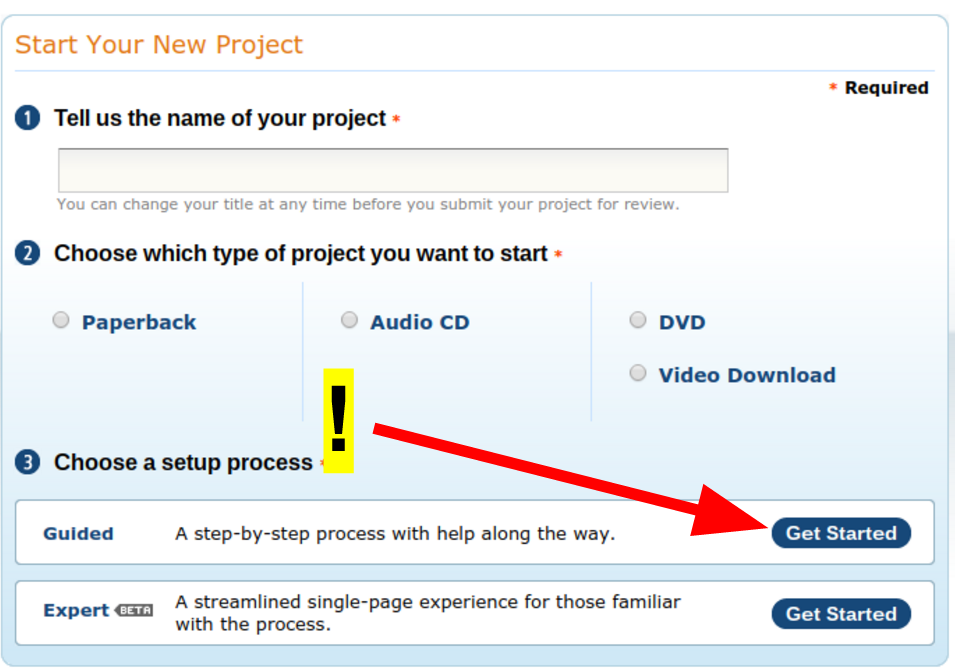
Here you will name your project, and more importantly you will choose the guided setup instead of the expert set-up.
This is super duper important because the menu options are different in the guided setup, and we need those options!
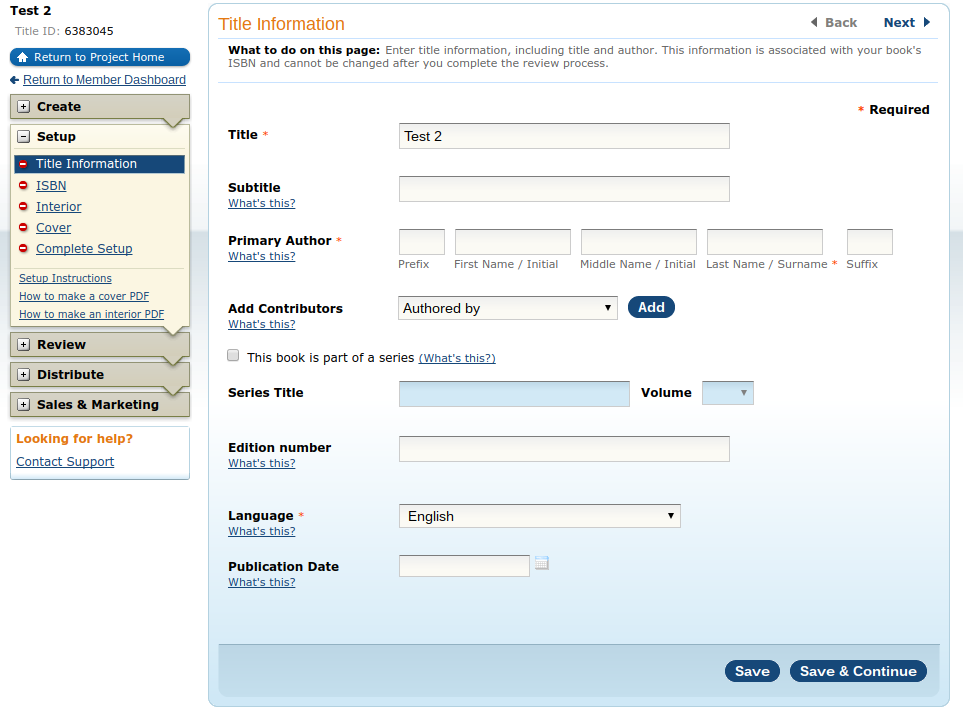
In the next screen you will add your title and author (you) and the rest is pretty much self-explanatory.
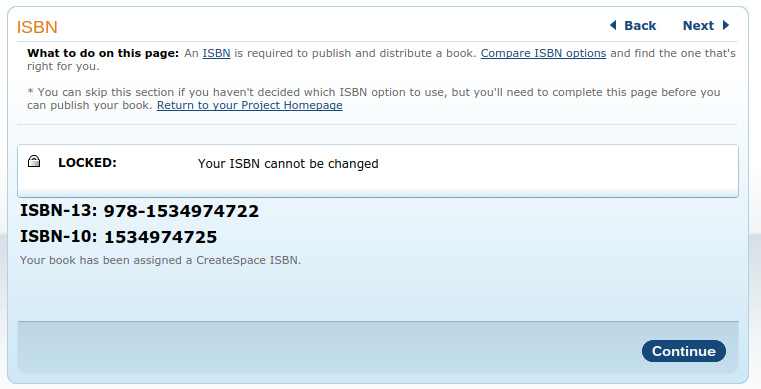
In the next step you must choose an ISBN. With print books an ISBN is mandatory — with ebooks it's optional. I recommend just using the free ISBN from CreateSpace. For more details about ISBN's, Joel Friedlander has written an awesome article about it on his blog.
As usual hit “continue”...
The next screen is pretty rich; here you can download the 6x9 template, but more importantly you must choose your interior TYPE.
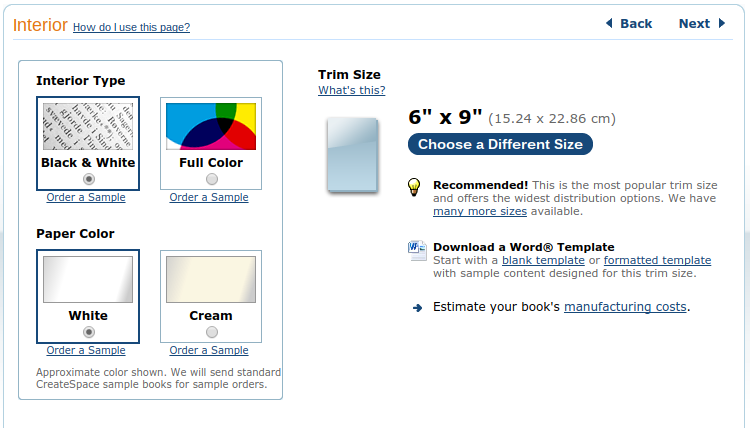
Keep in mind that a full color interior is much more expensive than a black and white one.
At the 6X x 9 size, a full color interior can even double the price of your book.
You really have to think about this beforehand, because it's a real pain to go back and change the interior of your book, even though it's just an option that you click (you don't even have to upload the PDF ), you still have to break the chain and go all the way back, and this is NOT FUN in CreateSpace.
This is one reason CreateSpace has earned the moniker as being a pain in the you-know-what.
Also in this step you get to upload your book interior: your PDF from Google Docs!
After choosing your PDF in the menu to upload, you can't upload it yet; you will be presented with the choice of “BLEED”.
This is important (!) you should leave the defaults as they are, especially if you have a lot of pictures in your book.
If you choose the other option to let the bleed go to the edge of the page, you might cut off your pics.
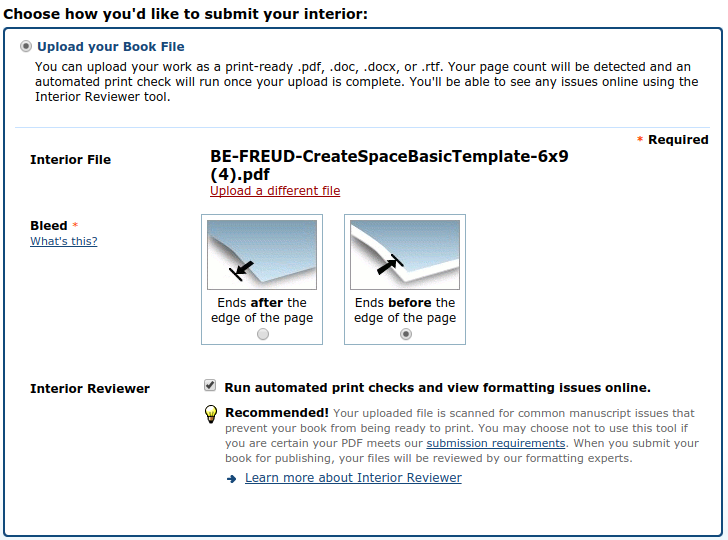
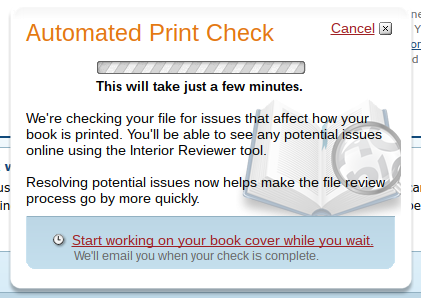
So just leave the defaults in this screen the way they are. Also leave the check mark in the “automated print check option” — then hit the button “SAVE”. This starts the upload and also the automatic checking process.
Oops! CreateSpace does not publish anything below 24 pages!
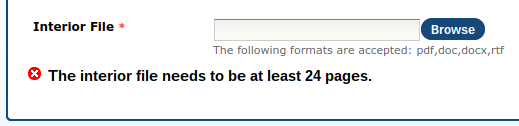
So if you have a short story, about 5000 words, it probably won't make 24 pages :-(
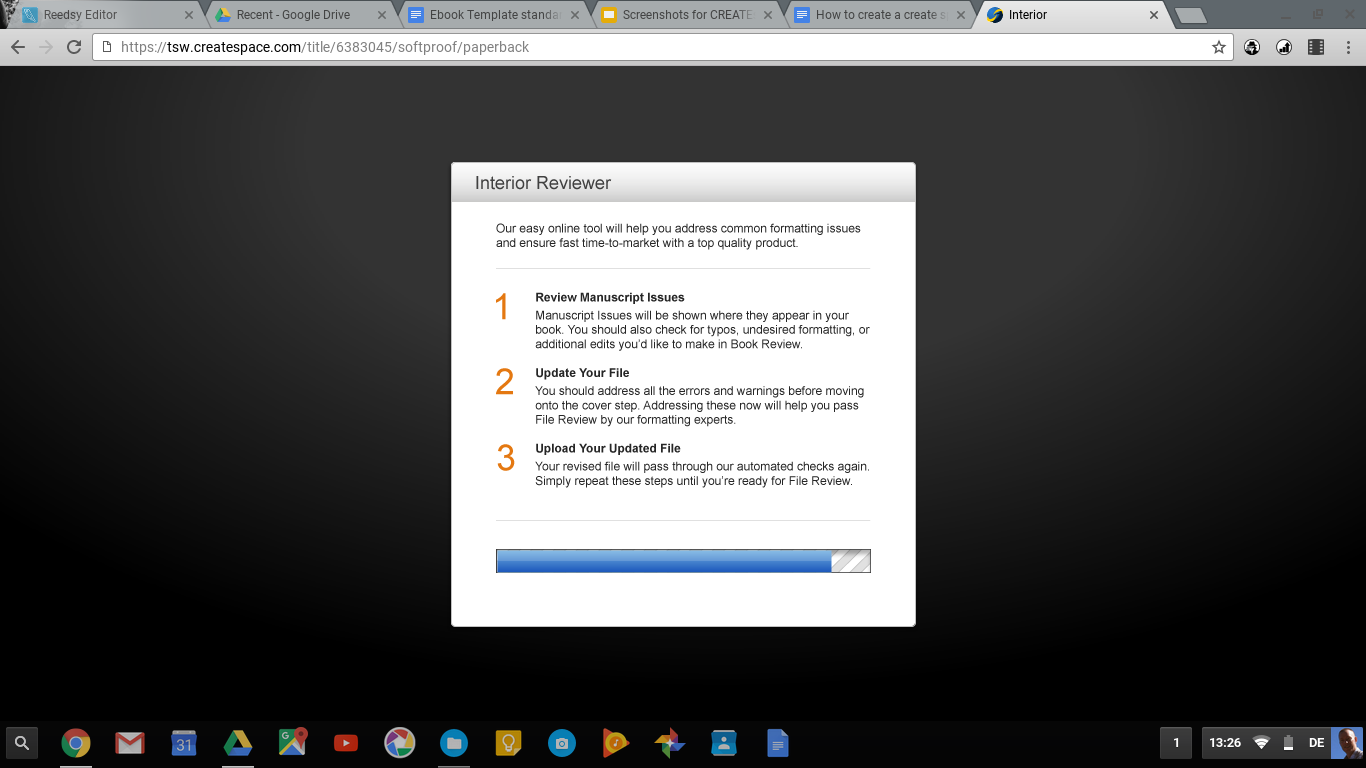
Okay so let’s upload something at least 24 pages or more, the automated print check screen shows for a while:
Afterwards you can review your book interior online:
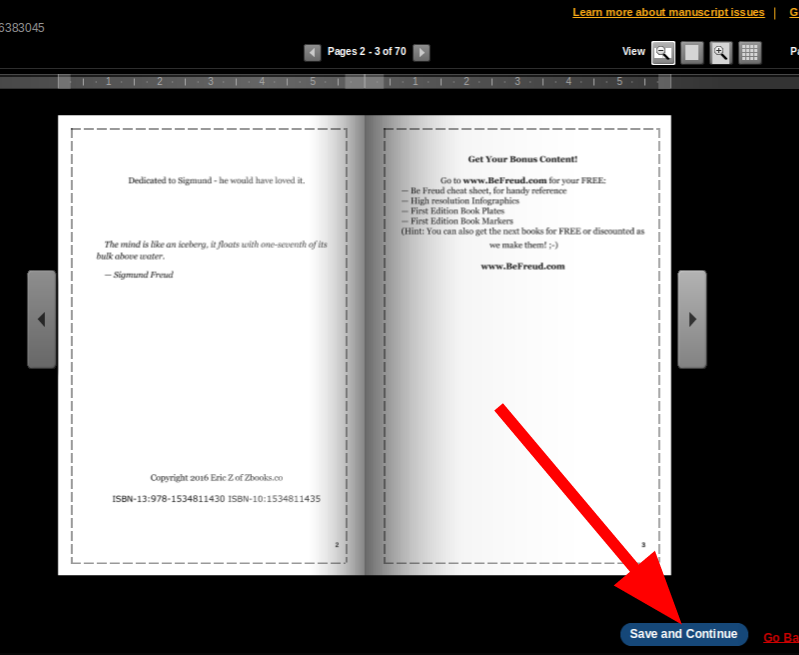
You will always get an error message in the step, just keep going and review and rework your interior file, or ignore it and continue.
Let's assume our interior is perfect, and we have chosen to “ignore issues and continue.”
The next step is the one that trips a lot of people up:
7. Upload your cover:
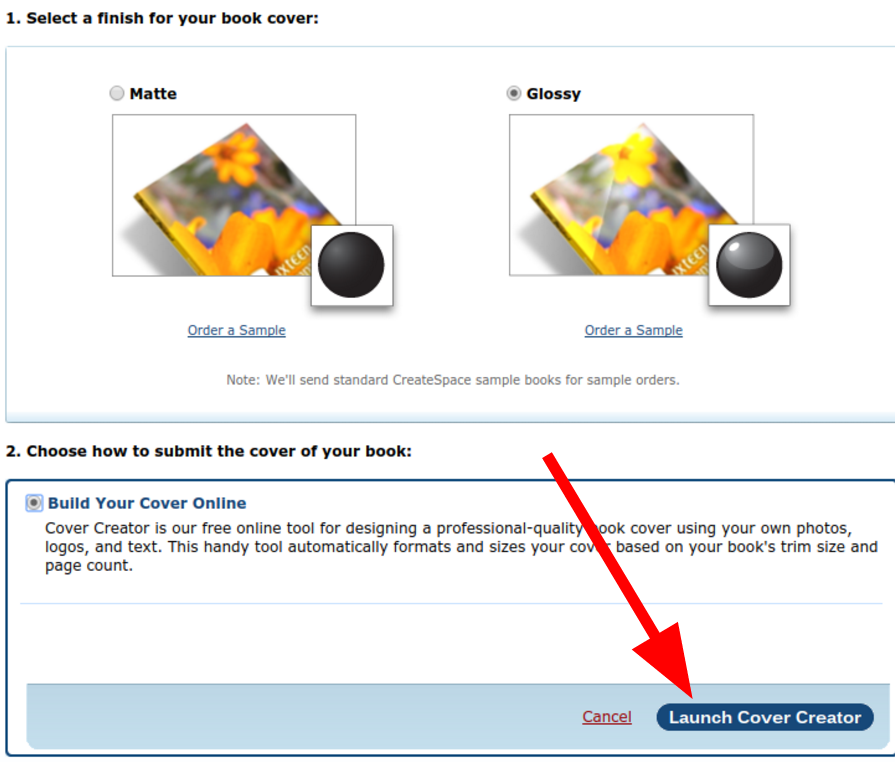
First select a finish for your book, I prefer a glossy cover. Then hit the button “launch cover creator”:
At first you are presented with a screen where you must choose your template.
You will have to scroll through the pages and on page 4 or 5 is the good one called “Palm”.
This one allows you to upload a picture for the front cover and another picture for the back cover: 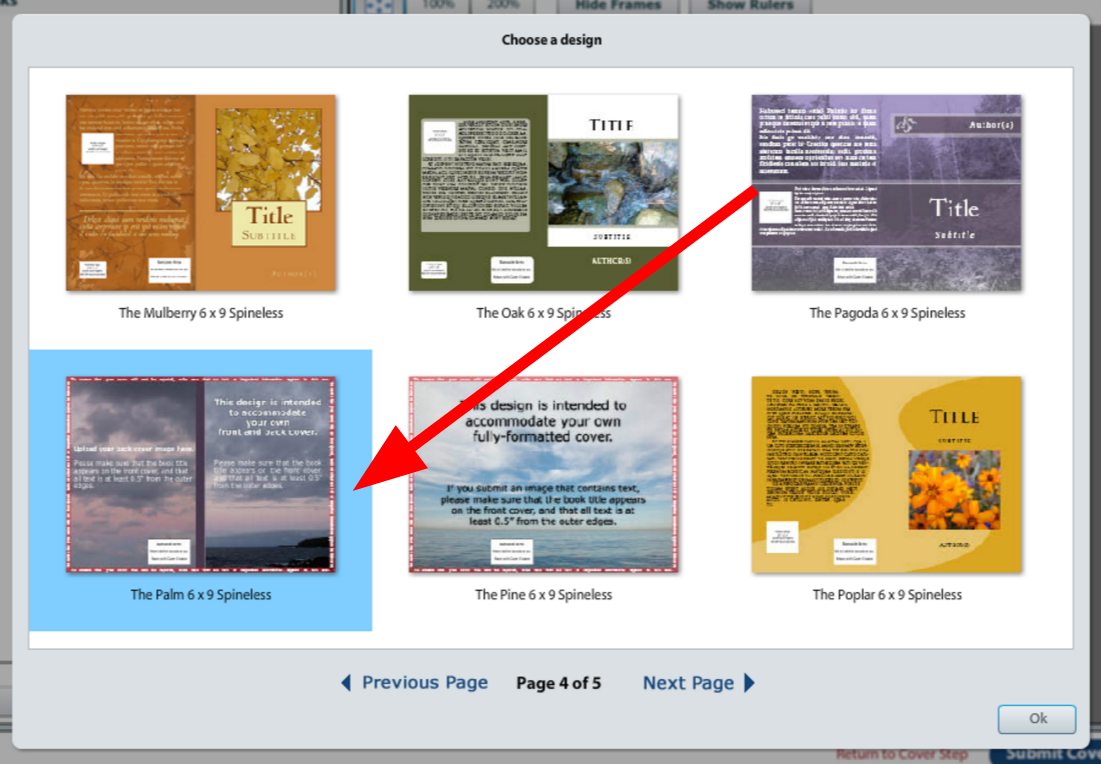
Now cover design is an art in itself, and it encompasses much more than a blog post, but an entire course of graphic design. You can spend years on the stuff!
So for you my friends; I highly recommend CANVA.com. Like said, no software here! Canva.com is one of the best graphic editors online. They even have a Kindle template. But other templates work too, like the “poster” template.
Remember to keep a nice big border along the edges of your cover graphic, because this will be the bleed area in the cover creator once you upload it.
Make sure your cover is 300dpi or more. Now in the interior of your book you may get away with 200 dpi graphics, but for your cover you must have 300 dpi or more.
My favorite tools to make the cover are definitely Inkscape and Gimp, but they have a learning curve. See my Inkscape and Gimp tutorials HERE.
When you are done uploading your front and back .jpg’s, hit the button “submit cover”:
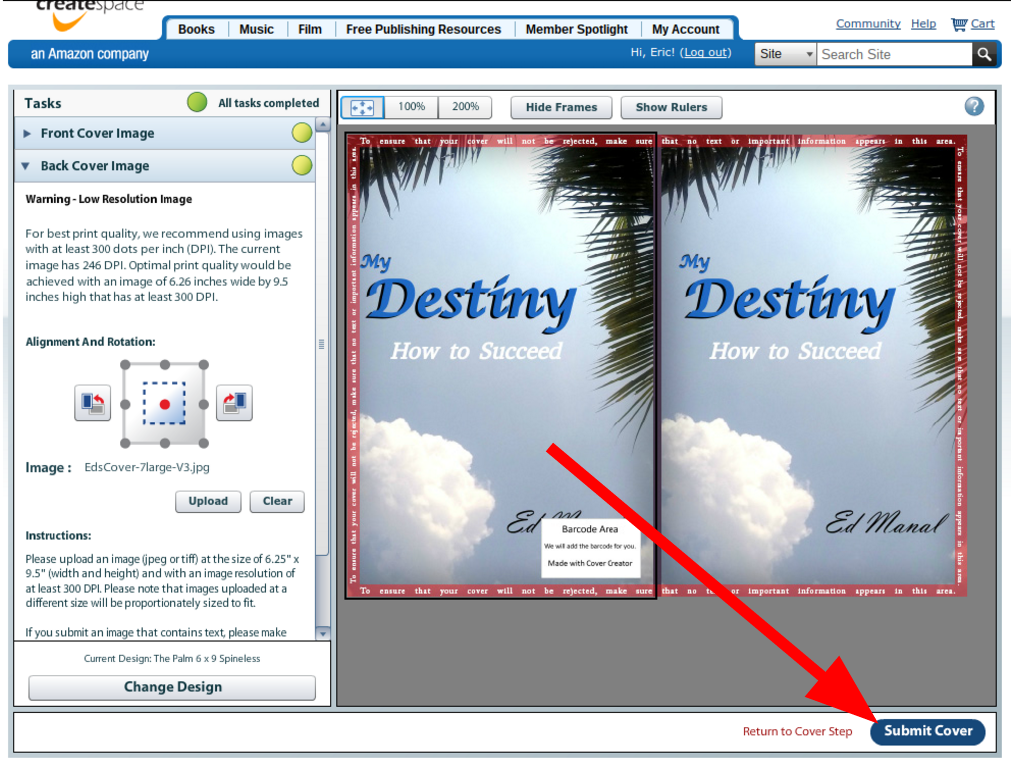
Obviously you won't use the same graphic for your back cover as you did for your front cover, but for this tutorial we’ll just keep going OK?
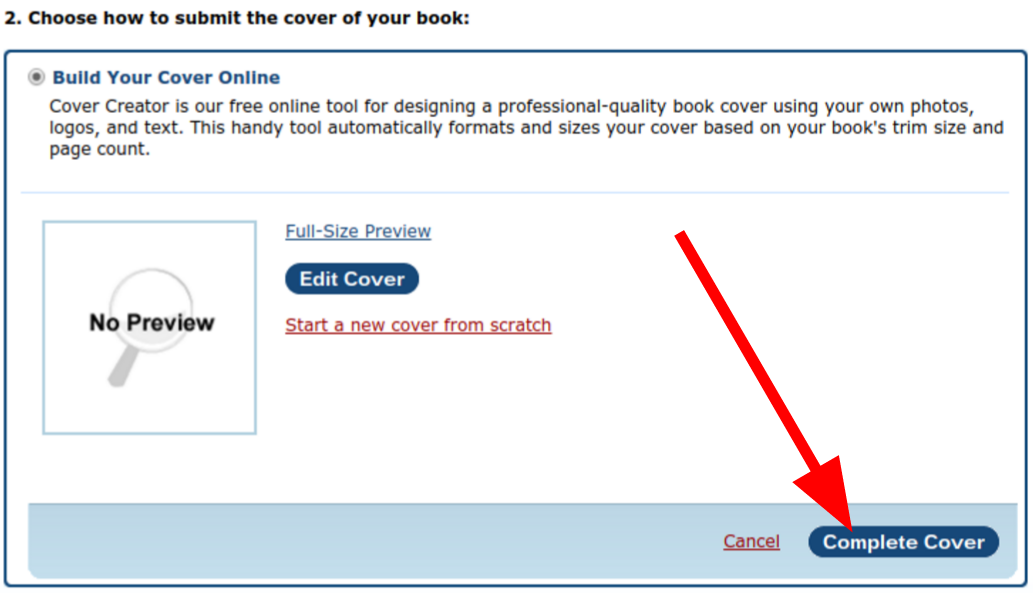
Next comes a BUNCH of redundant steps; you have to hit the button again and again, first “complete cover”:
Then:

Then:
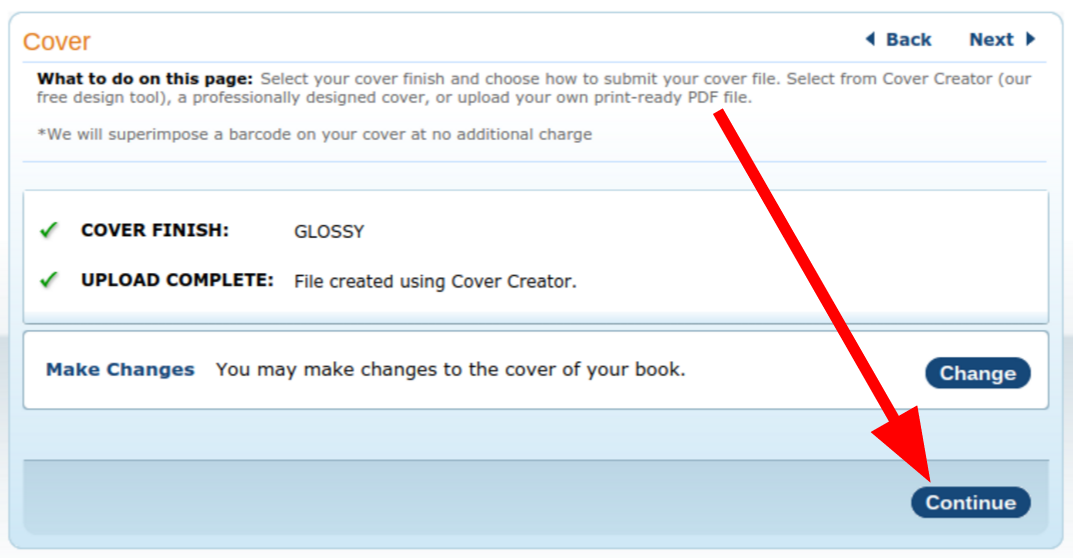
8. And FIINAAALLLY we can submit the whole darned thing!
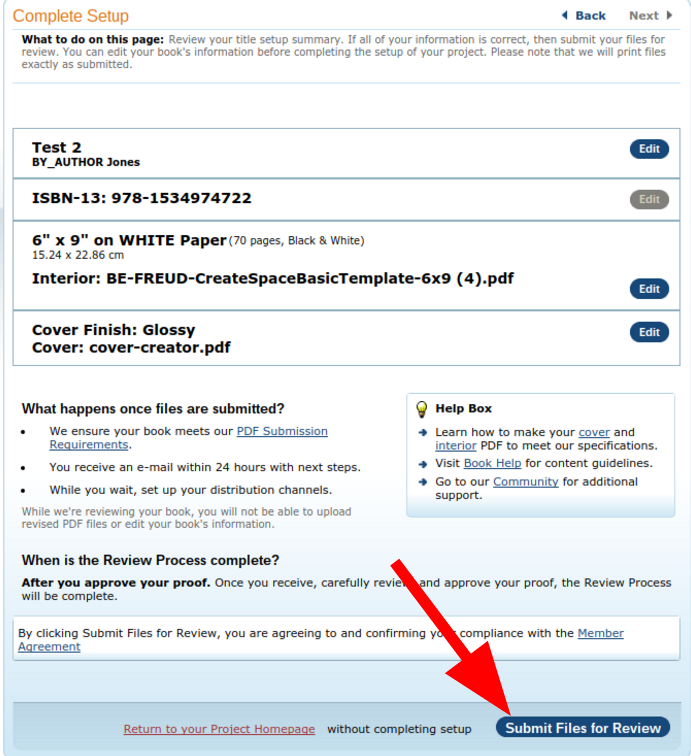
After this comes an annoying waiting period where we will get an email from CreateSpace.
This can take up to 12 hours or more! Once we get the email from CreateSpace, we follow the link and finalize the entire process:
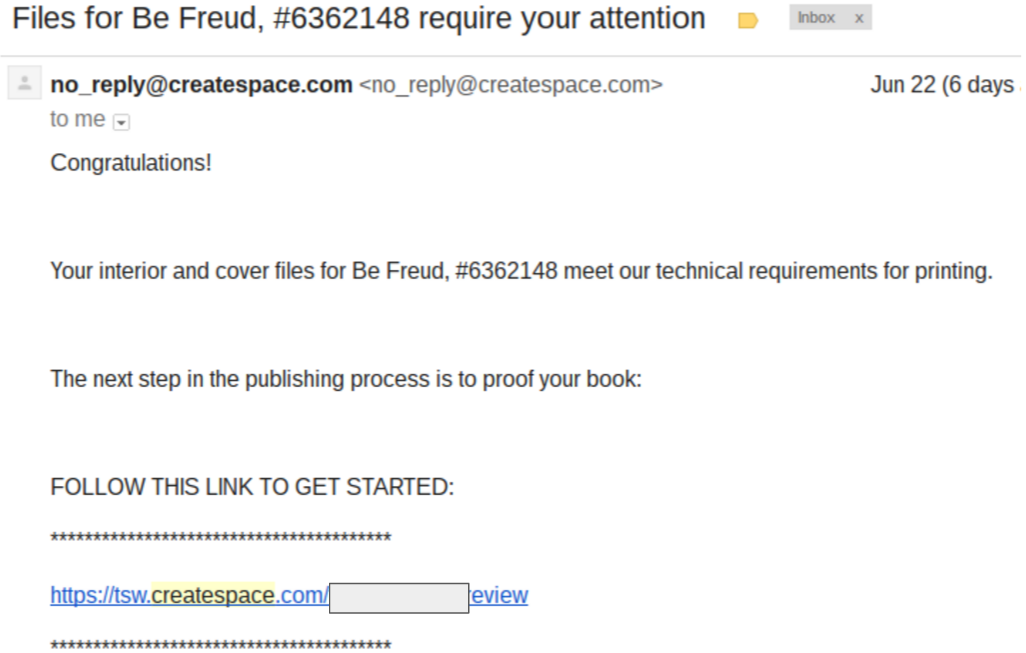
Follow the link and then choose one of the options: digital proof online or download PDF:
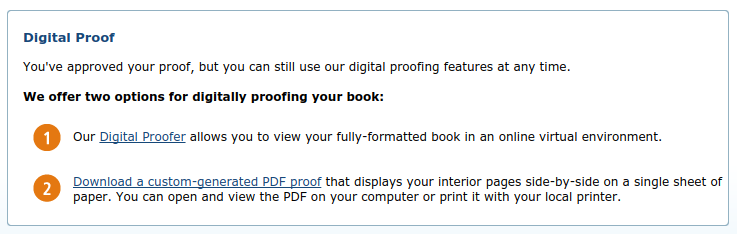
Exactly like in the previous step where we uploaded our book interior for the first time, we can now use the digital online proofer to check our interior and then submit it:
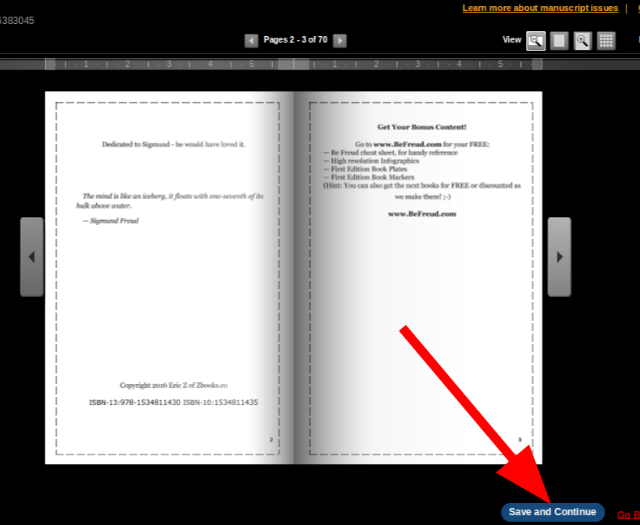
When you have completed this step congratulations! — you're almost done.
Now we get to go to the sales Channel and finally set our distribution options and prices:
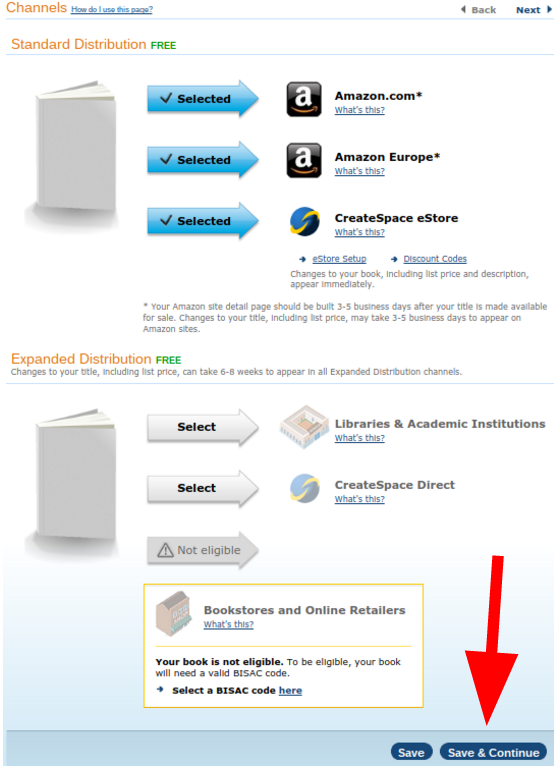
Be careful here, because expanded distribution can raise the final price of your book.
When you're done hit “save and continue”.
Now in the next step you get to fill in the price and see the royalties you will make:
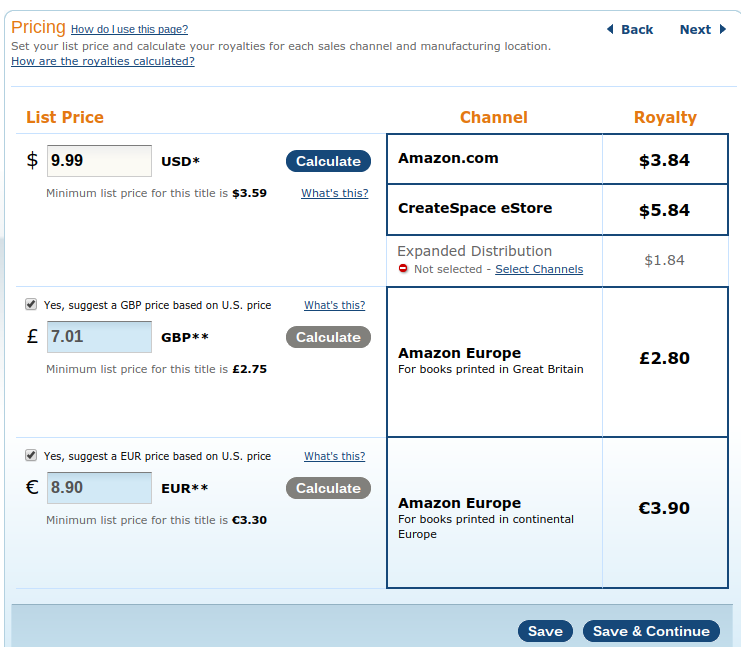
Save and continue when you're ready.
In the next screen we finally make our description.
Here we should definitely use HTML.
The best way to do this is with Dave Chesson's awesome tool on Kindlepreneur.com ; just go there, put your text in and format it with the tool. Then use that in your description field in CreateSpace.
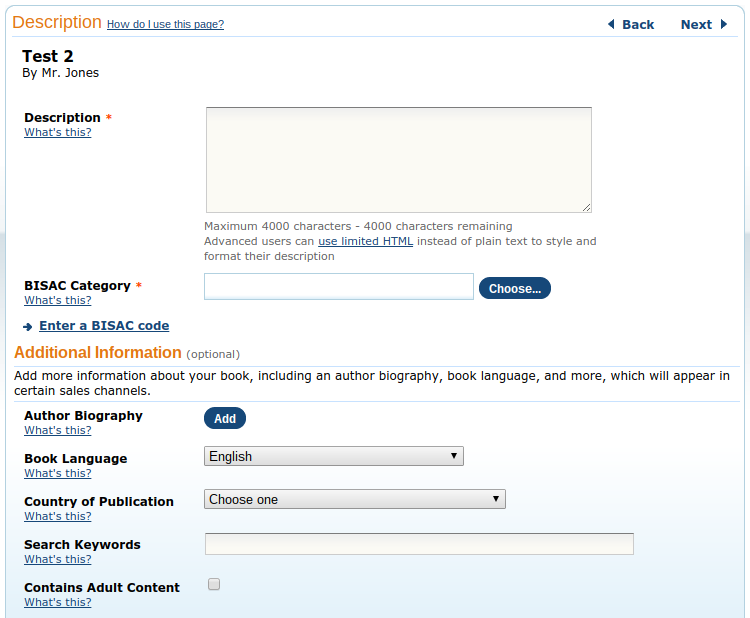
In this field you also have the option to use keywords. To make a long story short; keywords are super duper important!
Don't just think of keywords that you like, or that you think are relevant to the book.
Here we want to use keywords that RANK in Amazon!
The advantage of this tool is that it shows the search volume even for search terms and keywords that are NOT in Amazon.
Did you get that?
If you find a search term with high volume, and there are no products or books for this on Amazon, guess what? — you make that book or product!
As usual, when you are done entering all of your information in this field, hit “save and continue”.
And now comes a super interesting option:
You will be prompted to publish your book on Kindle.
Do NOT do this! Make your Ebook separately:
The problem with this option is that you have no control of the end product. And, I have tried this for you, and found that when we use this option the table of contents of the resulting Ebook is totally wrong or not even there!
Also CreateSpace also gets some of the page breaks wrong :-(
So if you plan on making an ebook for Kindle(and you should!), do it separately, apart from CreateSpace.
This way you have complete control of the table of contents.
This is a shame, because if this function would work, it would greatly reduce the headaches of this entire process.
Are you listening Amazon?
It would be awesome: all we would have to do is make our book once for CreateSpace and boom! There you go, two books on Amazon — perfect!
There you go my friends, I hope this tutorial has been enlightening for you. If you have any questions remember to contact me with the contact button below.
I'm always here to help you!
Supplemental Resources
- HERE are some examples of CreateSpace Books made entirely with this technique!
- And here is the link to the HTML Description generator on Kindlepreneur.com
- AND HERE is the NEW Cover course! When you are done making the interior of your book, go here and make the cover!
UPDATE!
Google finally has a Table of Contents function WITH page numbers. Also, MAKE A COPY is the correct way to use this template; see the vid below!
Please SHARE - Help your buddies make their books!


0 comments:
Post a Comment